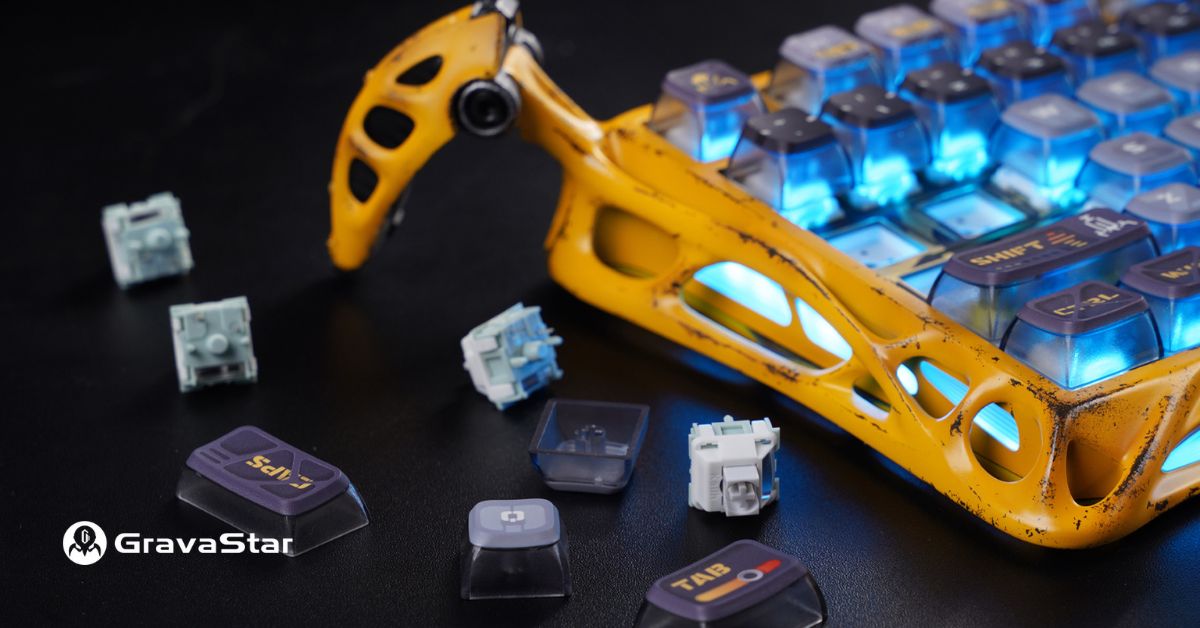
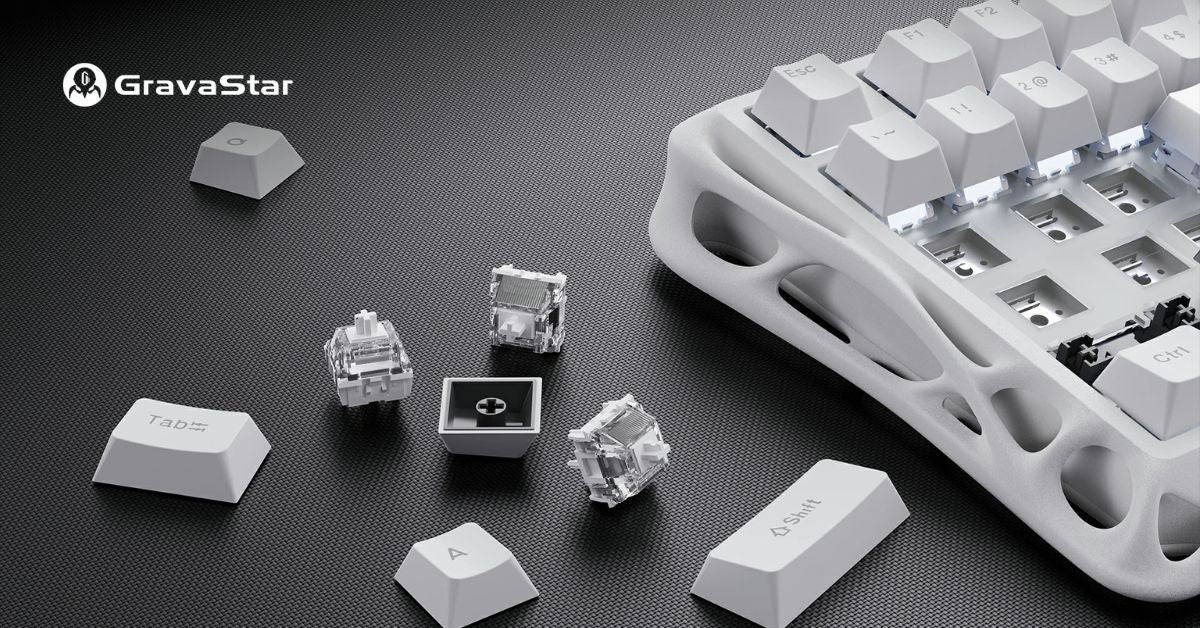
Replacing switches on a hot-swap keyboard involves removing old switches and inserting new ones directly into the PCB. Unlike traditional soldered keyboards, hot-swap keyboards use switch sockets, which makes customization and repairs straightforward.
This guide explains the tools needed, preparation steps, and techniques to safely replace switches on a hot-swappable keyboard while maintaining proper functionality. Check out our hot-swap GravaStar keyboards here!

1. Gather Your Tools
If it’s your first time replacing hot swappable switches, you’ll need to buy or borrow the following tools:
- A keycap puller for safely removing keycaps
- A switch puller to remove switches from the PCB
- New hot swappable switches that are compatible with your keyboard
- An optional plate fork for keyboards with flexible plates to help you remove and install switches
2. Prepare for Switch Replacement
With your tools ready, the next step is to prepare your keyboard for the switch replacement. First, unplug the keyboard from any power source to avoid damage. Choose a clean, flat surface to work on, then organize your tools and switches so everything is easy to reach. Take a photo of your keyboard layout before removing anything to help you reassemble it correctly.
3. Switch the Caps
Switching the caps will require removing the keycaps and switches, preparing replacements, and installing them carefully. You’ll also need to check for proper alignment and functionality.
|
Step |
Description |
|
1. Remove Keycaps |
Use a keycap puller to detach keycaps systematically and keep them organized |
|
2. Remove Switches |
Detach old switches by pressing their tabs using a switch puller and lifting carefully |
|
3. Prepare New Switches |
Check the keyboard switches for damage, fix bent pins, and align them properly with the PCB |
|
4. Install Switches |
Push new switches into the PCB (sockets) until secure, making sure they’re aligned accurately; maintain gentle pressure |
|
5. Test Switches |
Reconnect the keyboard and check each switch for correct function; troubleshoot and fix any issues |
Step 1: Remove Keycaps
Use a keycap puller to remove the keycaps carefully. You should start at one corner and work systematically from left to right, beginning with the bottom row. Store the keycaps in a safe place to avoid losing or mixing them up.
Step 2: Remove Existing Switches
Detach the old switches using your switch puller after removing the keycaps. Hook the puller under the plastic tabs located on either side of the switch. Lightly press the tabs inward while pulling the switch upward to release it from the socket.
Don’t use too much force, or you risk damaging the PCB or socket. If a switch is stuck, you can gently wiggle it side to side or up and down to loosen it before trying again.
Step 3: Prepare New Switches
Make sure your new switches are compatible with your keyboard. Look at the pins to see whether any are bent — if they are, carefully straighten them with tweezers. Check the markings on the PCB and align the switches properly, making sure the pins match the PCB socket orientation (north- or south-facing) and are in the right position for installation.
Step 4: Install New Switches
Line up the switch pins with the holes on the PCB, making sure they’re properly aligned. For keyboards with LED lighting, make sure the LED slot is positioned at the top. Press the switch gently but firmly into the socket until you hear or feel it click into place. Use steady pressure to avoid damaging the switch or PCB.
Refer to the photo you took earlier to place each keycap in its correct position once the switches are installed.
Step 5: Test and Troubleshoot
Plug the keyboard back in and test each key. If a key doesn’t respond, you’ll need to remove the switch and check for bent pins or debris in the socket. Straighten any bent pins and reinstall the switch. Carefully use a compressed air duster to clear any dust or particles if needed. We recommend you test the keyboard again to make sure everything works as expected.
How Do Hot-Swap Keyboards Work?
Hot-swap keyboards allow you to replace mechanical switches without soldering. Each switch fits into a socket on the keyboard’s printed circuit board (PCB), which completes the electrical connection required for the keyboard to work.
Hot-swap mechanical keyboards can support two main types of switches: 3- and 5-pin switches.

3-Pin Switches
3-pin switches feature two metal pins for electrical contact and one central plastic pin for alignment. They are commonly installed through the keyboard’s plate before connecting to the PCB. Notably, 3-pin switches are a versatile choice, as they are compatible with most hot-swap keyboards.
5-Pin Switches
5-pin switches have two smaller plastic legs in addition to the two metal pins and one alignment pin found in 3-pin switches. The extra legs provide more stability by securing the switch directly to the PCB.
Not all hot-swap keyboards are compatible with 5-pin switches, so you should confirm if your keyboard supports them before buying new switches.
Our GravaStar Mercury K1 and Mercury K1 Pro keyboards are compatible with both 3-pin and 5-pin switches for your convenience. Own one today!
How to Replace Keyboard Switches on a Hot-Swap Keyboard | FAQs
How should you store spare hot-swappable switches?
Store spare hot-swappable switches in a plastic organizer with separate compartments for each switch. Use foam or a soft lining to protect the pins from bending. Keep the organizer in a clean, dry place away from dust and moisture.
Are hot-swappable keyboards better than traditional soldered keyboards?
Choose hot-swappable keyboards for convenience, and traditional soldered for durability. Hot-swappable keyboards let you replace switches without soldering, making them easier to customize or repair. In contrast, traditional soldered keyboards are sturdier and less prone to wear from repeated switch changes but require more effort to modify.


Leave a comment
This site is protected by hCaptcha and the hCaptcha Privacy Policy and Terms of Service apply.